Thursday, August 28, 2014

Jamie Oliver's Peach Clafoutis - Easy, Homey, Delish!


Its not everyday that you stumble upon a recipe which is super easy to make, does not have a load of fat, barely any flour, comes together in 10 minutes and bakes in 15.  A simple yet satisfying homey kind of dessert you want to eat when you crave something sweet. Made with the most basic pantry staples, this clafoutis is something I could easily fall into the habit of making. On a busy week day or on a lazy weekend, this is one of the easiest desserts you could bake. A scoop of ice cream or some whipped cream will make this good enough for company too! 

Ever since I baked Tartine's Clafoutis, I have been trying more recipes of this French dessert. That was a slightly more substantial one, but delicious nonetheless! The custard lover that I am, clafoutis with lesser flour is a welcome addition to the dessert repertoire.

I don't normally stock canned fruit, but now I think its not a bad idea to have a can or two to bake desserts like this on a whim. Store cupboard versions as Jamie calls them. Seasonal fruit like cherries, berries, plums or even apples should work good. I know you have heard this before  I would anytime prefer eating fruit fresh to those cooked to any degree. But since fruit does add appeal to dessert, I like baking in ramekins as it reduces the baking time drastically. You could bake the clafoutis in a large oven proof dish, but then the fruit will be quite mushy. You could even skip the fruit and make a plain version, so what if we can't then call it a clafoutis? 


Peach Clafoutis. Recipe here

Ingredients: To make about 8 half cup servings

Canned peaches, drained - 200 grams ( 1 small tin, I used Del Monte)
Salt - a tiny pinch
Eggs - 144 grams / 3 large
Whole milk - 450 ml (3.5 - 4% fat)
Caster Sugar - 100 grams 
Plain flour - 24 grams / 3 tablespoons
Butter - 50 grams  (I skipped this)

Confectioner's sugar - for dusting on top
Ice cream or whipped cream to serve (optional)

 Method 
  • Pre heat oven to 220 C / 425 F.
  • Lightly butter 8-10  half cup /120 ml capacity ramekins. Cut the peach halves into 3 pieces each. Arrange two of these pieces in each of the ramekins. Place the ramekins in a large tray, spaced about an inch apart.
  • Take the sugar, eggs, vanilla and salt in a medium sized bowl. Whisk lightly to combine. We do not want to introduce air by vigorous whisking. Slowly whisk in the flour a tablespoon at a time. If there are any tiny lumps, rub between your fingers to smoothen. (Eeks? Please tell me if you have a better way to do this!) 
  • Warm the milk so its barely warm (think you are warming milk to set yogurt in summer), this was 106 F on my thermometer. Err on the side of the milk being less warm than it being hot as the eggs may curdle. 
  • Whisk the warm milk gently into the egg mixture. Pour it over the peaches in the ramekins.  The ramekins will be 3/4 full. 
  • Bake about 13-15 minutes or till the custard is set but has a slight wobble when you shake it. To test, check at 13 minutes. Let the ramekins remain in the oven. Shake one ramekin gently to see if looks set but has a slight wobble like jelly. If it looks runny, bake 2 minutes more. If in doubt, err on the side of under baking. The clafoutis will puff up a bit and then deflate. 
  • Remove the tray from the oven. Carefully transfer the ramekins on to a cooling rack. Let cool completely. Though this is eaten warm with a dusting of confectioner's sugar, I like clafoutis best at room temperature. Dust lightly with powdered sugar and serve with ice cream or cream. 


Please note:

The original recipe uses 3 tablespoons sugar in the batter and 3 tablespoons dusted on top. I have used more and all in the batter.

You could use lesser sugar if using more fruit as that would make the dessert sweeter. Jamie uses a 400 gram can (almost double). I have used less fruit as I like it to be more of custard.

Do not use powdered sugar in the batter as it will clump. 

If baking the clafoutis without fruit, fill the ramekins 3/4 way up. Check at around 15 minutes. The baking time will vary depending on the size of the baking dish / ramekin.

Even if you have never baked custard before, this should be easy enough to try. Very little effort, safe and good as long as you do not over bake. From inspiration to the table in 30 minutes, don't you think this is worth a try?

Wednesday, August 20, 2014

Baked Nippattu - Savory Spicy Crackers(video recipe)

nippattu

Have I ever confessed that behind the bulky incorrigible baker lives a veteran fighter who has never managed to win the battle of the bulge? Temporary triumphs yes, but never lasting success. For all that love for desserts and good food, I try hard to keep our daily grub fairly healthy. I like to indulge my family with treats now and then, but am mostly the wicked mother and heartless wife who plays spoilsport quite often. All in the interests of our long term health and food habits of course!

Store bought junk earns frowns mostly, but I give in sometimes, they sneak them in at times thanks to the hubby and the grandparents. Deep frying is really rare - I just don't enjoy slaving over hot oil ! Eating out very often is a no. The very selfish baker that I am, most of the big calories and fat are reserved for my bakes which I try hard to space out.  My deep rooted  love for conventional baking makes changes for better health all the more necessary. While I may not be the most  health and nutrition conscious person around,  I do keep trying constantly to make our meals healthier, strive hard to strike a balance. My exasperated family naturally has little choice but put up with me as I happen to be the sole chef around. If it helps resurrect my image, yes, I do feel guilty about it - at times! 

baked nippattu

I have thankfully realized that home made junk is a lot more healthier than the store-bought or processed 'health' or 'low fat baked' goodies.  Home made, low-fat baked versions naturally do not taste exactly the same as the 'regular' ones, but good enough.  Hopefully will help the kids develop a taste for these as well, learn that this is the only way to have their cake and eat it too.

My family loves Nippattu, South Indian style deep fried savory crackers.  I baked a healthier version of these and was quite pleased with the results.  About 50% whole wheat and 40 ml oil for 18, 3 inch crisp crackers.  Not bad I think!

This is my crazy version of these crackers, play around with the flavors as you please!


Baked Nippattu

Ingredients -

All purpose flour - 60 grams
Whole wheat flour - 50 grams
Salt - 3/4 teaspoon
Sugar - 1 teaspoon
Baking powder - 1/2 teaspoon
Roasted, skinned and coarsely chopped peanuts - 1/4 cup
White poppy seeds, lightly toasted - 1 teaspoon
Red chilli powder - 1 teaspoon
Onion powder - 2 teaspoons

Oil - 2 tablespoons plus 2 teaspoons / 40 ml
Garlic - 2 cloves, finely chopped or grated
Green chillies, finely chopped - 1 or 2, to taste
Curry leaves, chopped - 1 tablespoon
Fresh coriander - 2 tablespoons
Water - 1/4 cup

Method : Mise en place. Pre-heat oven to 200 C / 400 F. Line your baking tray(s) with parchment.

  • Sift together the flours, baking powder, salt, chilli powder and sugar into a medium sized mixing bowl. Mix in the peanuts and poppy seeds. 
  • Warm the oil with the minced garlic. Do not let the garlic brown. Add the finely chopped green chillies, saute a few seconds. Let the oil cool to room temperature. 
  • Mix this with the water, stir in the curry leaves and coriander. 
  • Make a well in the flour mixture, tip in the wet mixture. Bring it together gently with your hand, knead 4- 5 times. The dough need not be completely smooth. You want a soft but not sticky dough.
  • Add more water if needed just 1/2 teaspoon at a time if the dough feels dry or is not coming together. 
  • Divide the dough into 18 equal portions, shape them into balls. 
  • Lightly flour your work area. Roll out the balls into 3'' circles about 3 mm thick, placing the rolled discs on the lined sheets as you go. A small bench scraper works great to lift the rolled crackers without tearing .Keep the rest of the dough covered as you work. 
  • Bake the crackers for about 12-14 minutes or till light golden all over. The time will vary depending on the thickness of the crackers and your oven. So watch carefully after 12 minutes, these will turn darker pretty fast. A small test batch will tell you the correct baking time.
  • Brush the crackers with a tiny bit of oil when still hot. This is optional but good. Let the crackers remain on the sheet for a few minutes. Cool completely and store in air-tight containers.


Traditional version

Skip the poppy seeds, green chillies and garlic. Add a generous dash of hing and 1 1/4 teaspoon red chilli powder to the warm (not hot) oil. Add 3 tablespoons shredded dried coconut to the flour.

You could use finely minced onion, but you will need to saute them to remove moisture. Safe bet? Try this first as it is and then experiment.

You can make this all whole wheat, you will need to adjust the water, expect crackers less light.

Thursday, August 7, 2014

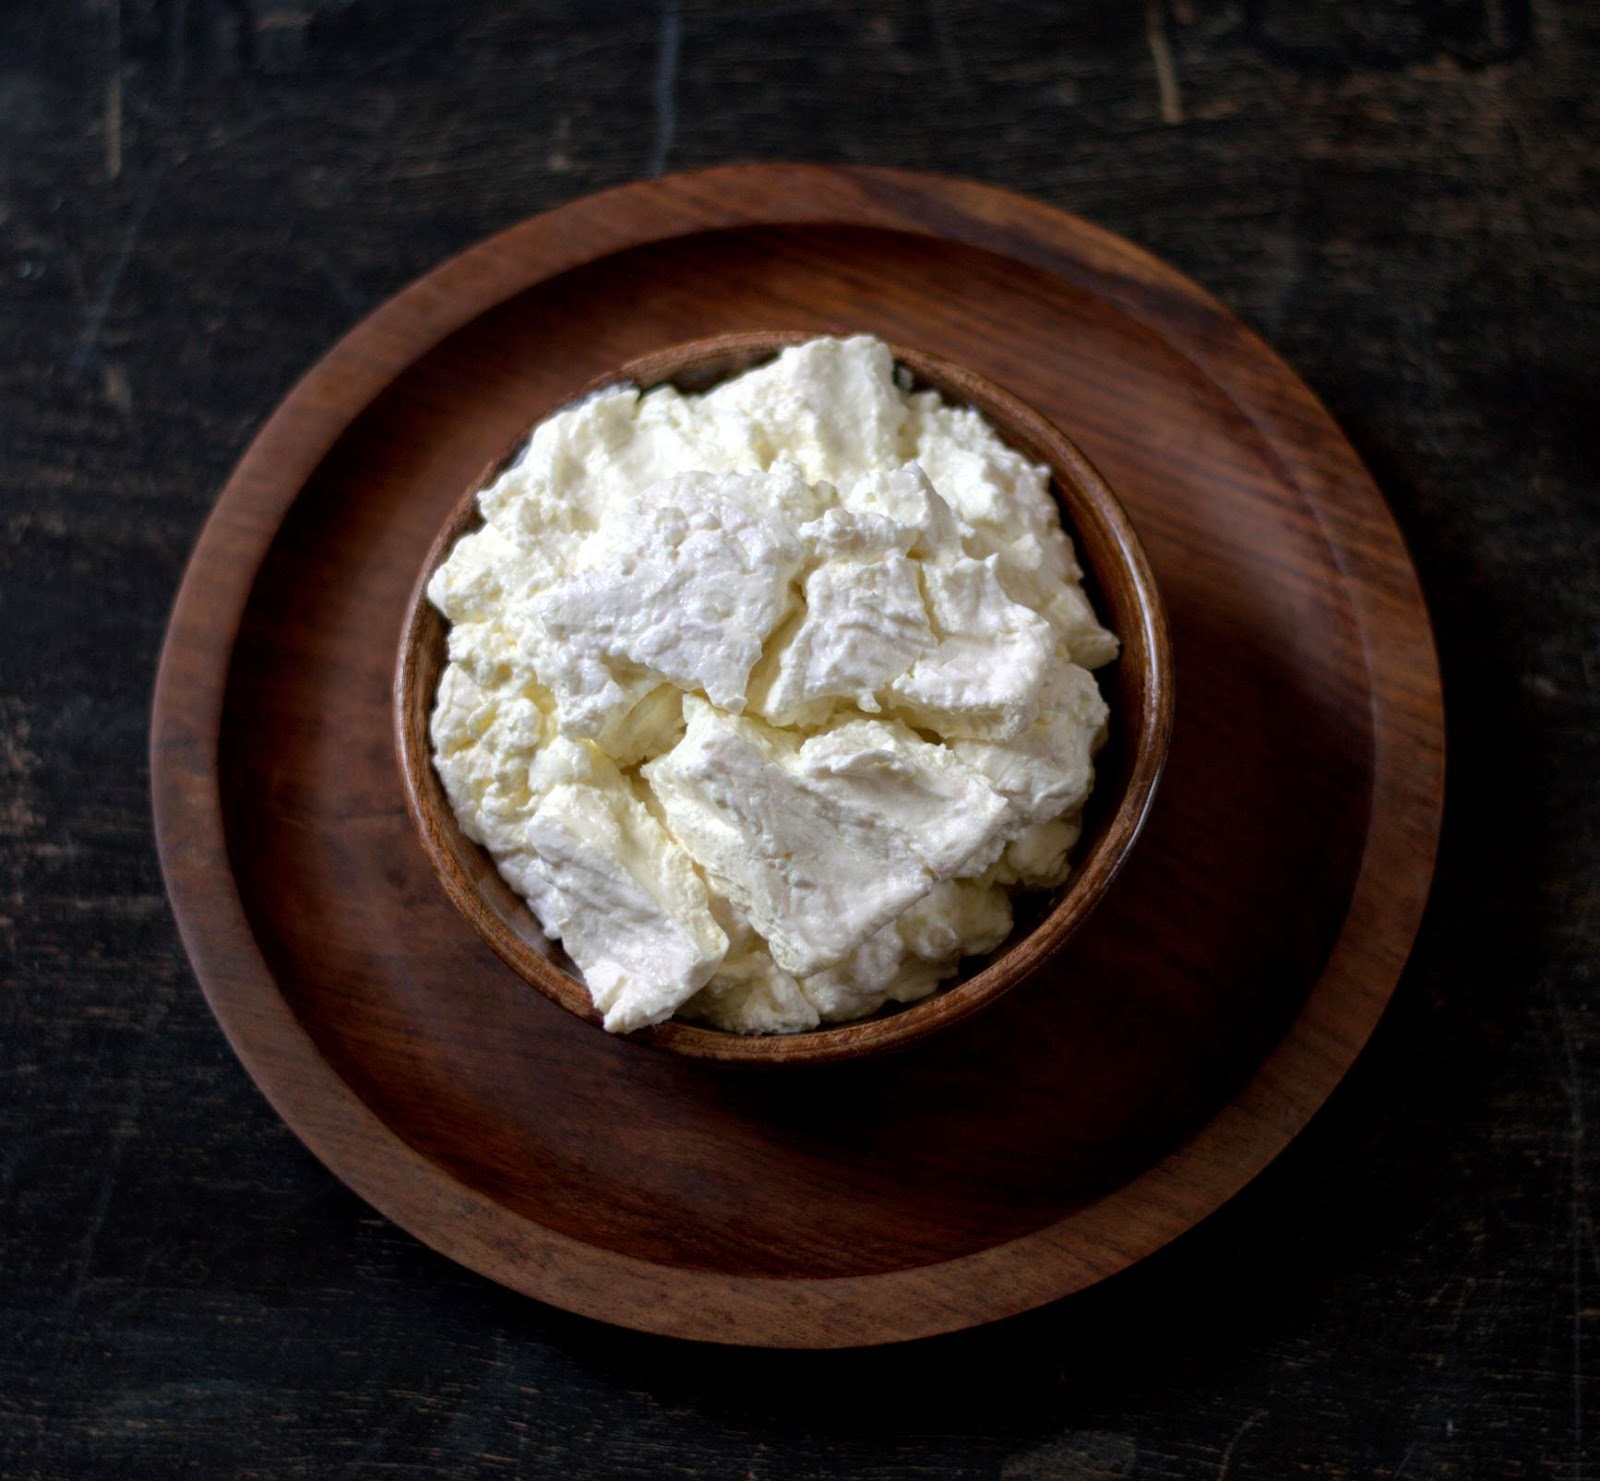
Homemade Quark

homemade quark

And I am back with some homemade cheese!  After ricotta ricotta and mascarpone, here comes quark.  Making cheese at home is a pleasure, the versatility of use a bonus.  Nothing really that needs you to set up a laboratory, understand complicated procedures and enzymes. Simple stuff we can do at home using pantry staples like milk, cream, yogurt vinegar and the kind.  What I love most is I can use them in both sweet and savory dishes and as an ingredient in bakes too.  Right up my alley, both for ease and the endless possibilities!

A moist, creamy textured fresh cheese with a gentle tang, Quark is of European origin. Apparently quark is the German word for curd.  There are different versions of making this cheese, with a wide range of fat content.  I gather you can make quark with whole milk,  low fat milk or even buttermilk! 

I came across quark first on Deeba's gorgeous Passionate About Baking.  It goes into her cakes,  mousse,  ice creams and countless desserts ever so often.  Simple and easy, how can I resist trying this?  I  could eat it by the spoonful,  but I hope I will save enough to find a more delicious home for it!

homemade quark

Homemade Quark : Recipe from PAB.  The below recipe gave me about 480 grams of cheese.

Ingredients:

Whole milk (I used 4% fat) : 7 cups / 1680 ml (Cups easier I know!)
Cultured buttermilk - 1 cup / 240 ml


Method:  If the milk you are using is not pasteurized, bring it to a boil,  cover, let it cool to room temperature.  Stir in the buttermilk.  Cover the container and keep in a warm place for about 24 hours or till the curds and whey separate.  I kept mine for more than 24 hours,  the mixture looked thickened, like set yogurt, with a little whey on top.

Drain into a cheese cloth lined sieve suspended over a deep dish.  Tie up the cheesecloth with a rubber band.  Refrigerate the entire apparatus overnight or longer.  (I left mine to drain about 17 hours) The whey will have drained and there you have your quark!

Quark can be refrigerated for about 3 days.  I would expect it to get tangier and drier as you store.

homemade quark

Please note: 

Deeba says the whey floating on top is more likely in warmer weather conditions.

In warmer weather, you may want to check on the culture earlier,  so start the process accordingly. Unless of course you don't mind tangy quark or setting your alarm to check the curd at 2 am.

The color of the cheese may vary with the percentage of fat in the milk.  Whitish  if the milk is skimmed or low fat,  slightly yellowish if the milk is of higher fat percentage.  I would also expect the yield to differ slightly too.  Some cream whisked into the milk will give you richer quark.

I have used 3/4 cup Nandini curd, about 3% fat I guess (as the one I make at home is low fat) mixed with 1/4 cup water to make 1 cup of buttermilk.  This was at room temperature too.

If you drain the cheese longer it may be drier.  This was moist enough and very creamy when stirred, but I will drain for about 10 hours next time I make it.  In case your cheese feels very dry, you could probably try stirring in a tablespoon or so of the whey.

Do you make your quark? Tell me your most favorite way to make it and eat it please?